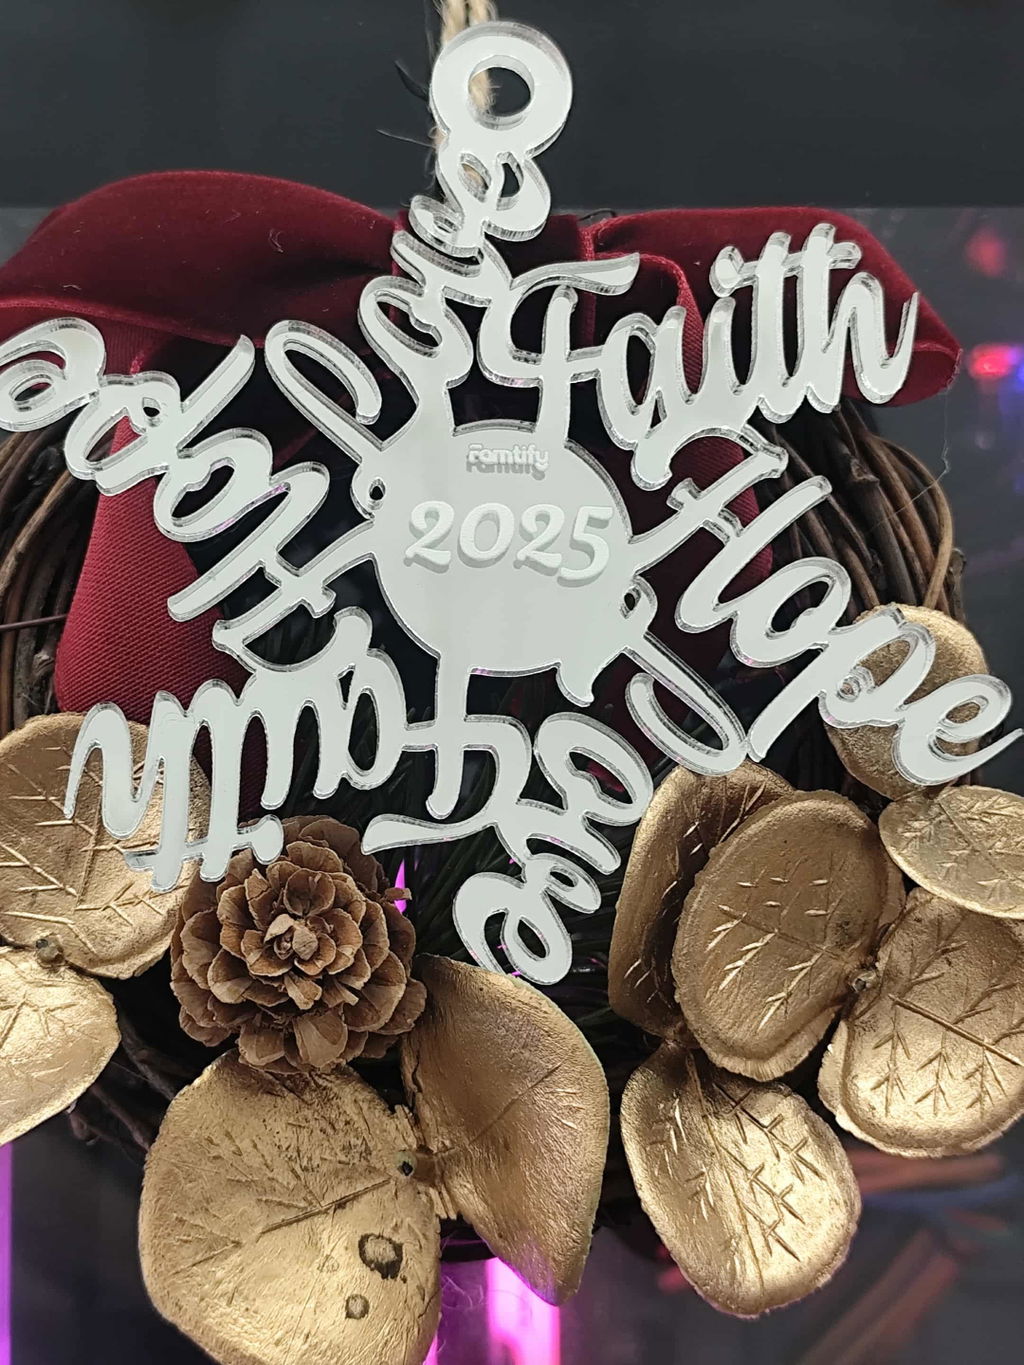
How to Design a Custom Photo Ornament (Step by Step)
Share
A custom photo ornament is one of the most meaningful keepsakes you can make. This step by step guide shows you how to design a custom photo ornament that looks beautiful and lasts for years.
Step 1: Choose your ornament
Pick a shape and material from the ornament collection. For a crisp, modern look, try acrylic; for a glow, a suncatcher style.
Step 2: Pick the right photo
Use a bright, high-resolution photo with faces toward the camera and a simple background so the subjects stand out.
Step 3: Add names and the year
Personalize with names and the year to turn it into a dated keepsake you will treasure each season.
Step 4: Preview and order
Check the crop and layout in the live preview, then order. Made to order and shipped from the US.
Photo ornament FAQ
What photo works best?
A bright, clear, high-resolution photo with a simple background prints best.
Can I add names and a date?
Yes. Add names or the year, then preview before ordering.
How fast does it ship?
Each ornament is made to order. US delivery times appear at checkout.
Make your keepsake. Browse Personalized Ornaments and more on our Personalization Tips blog.